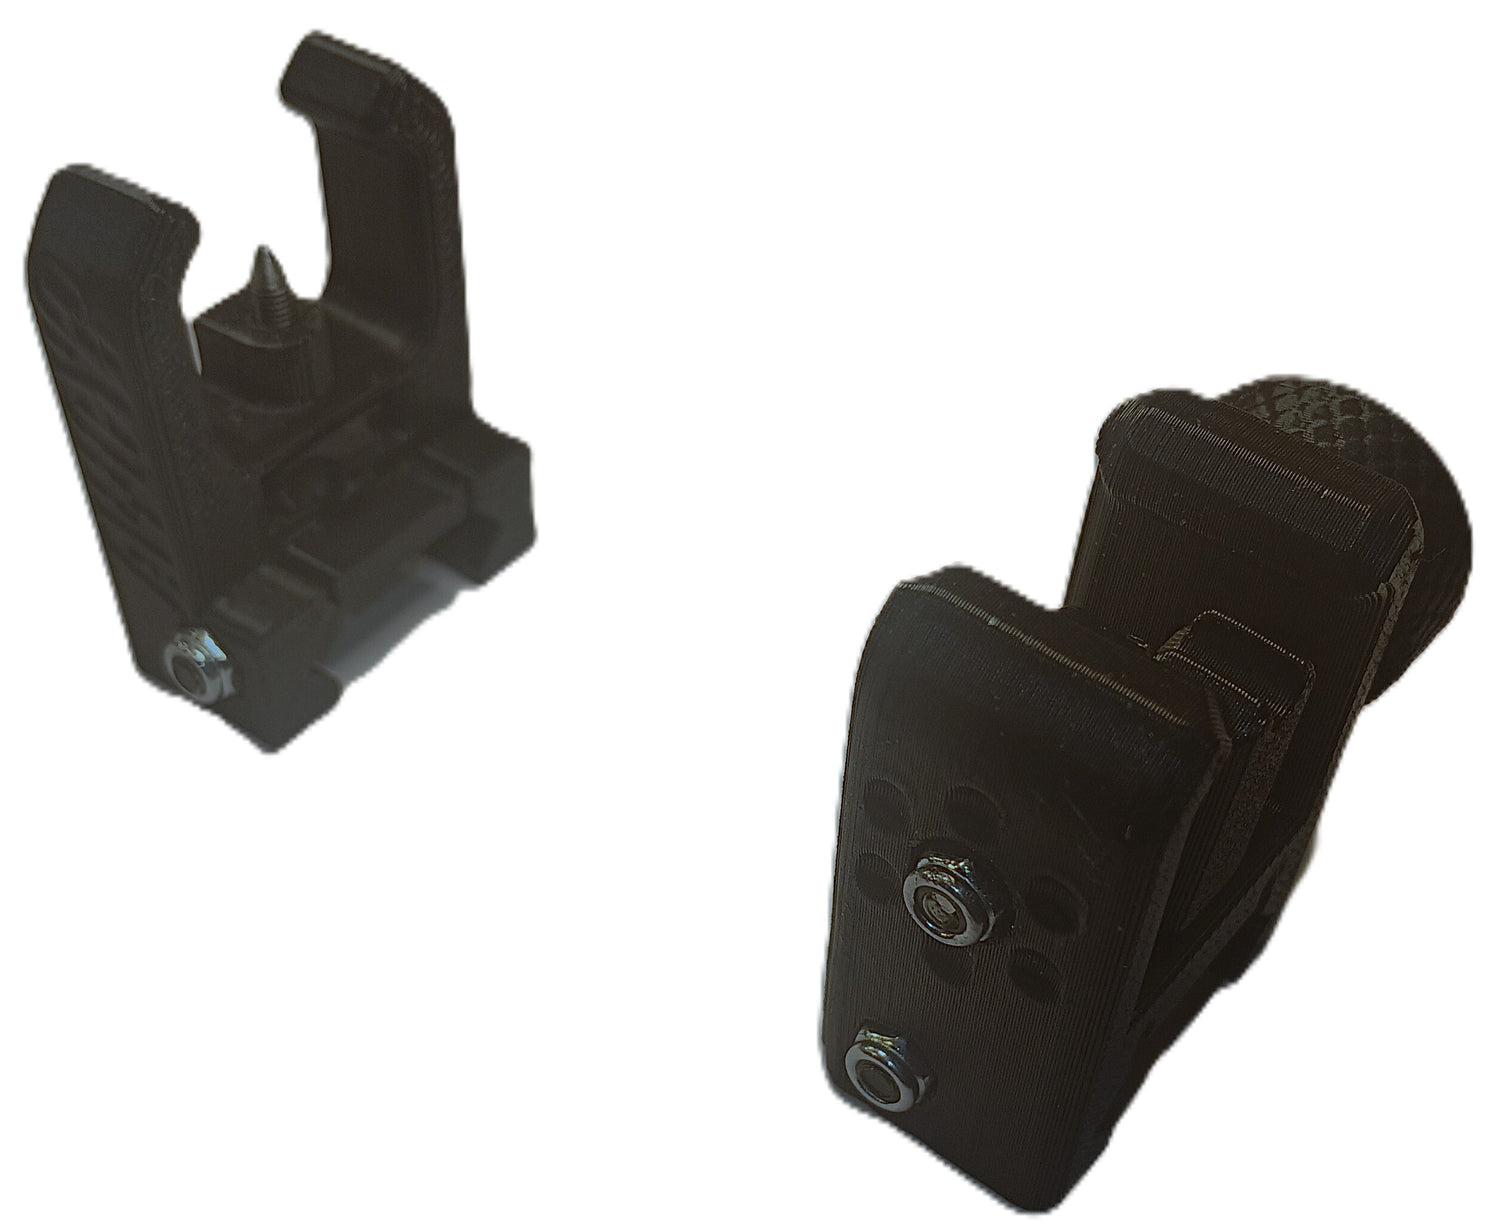
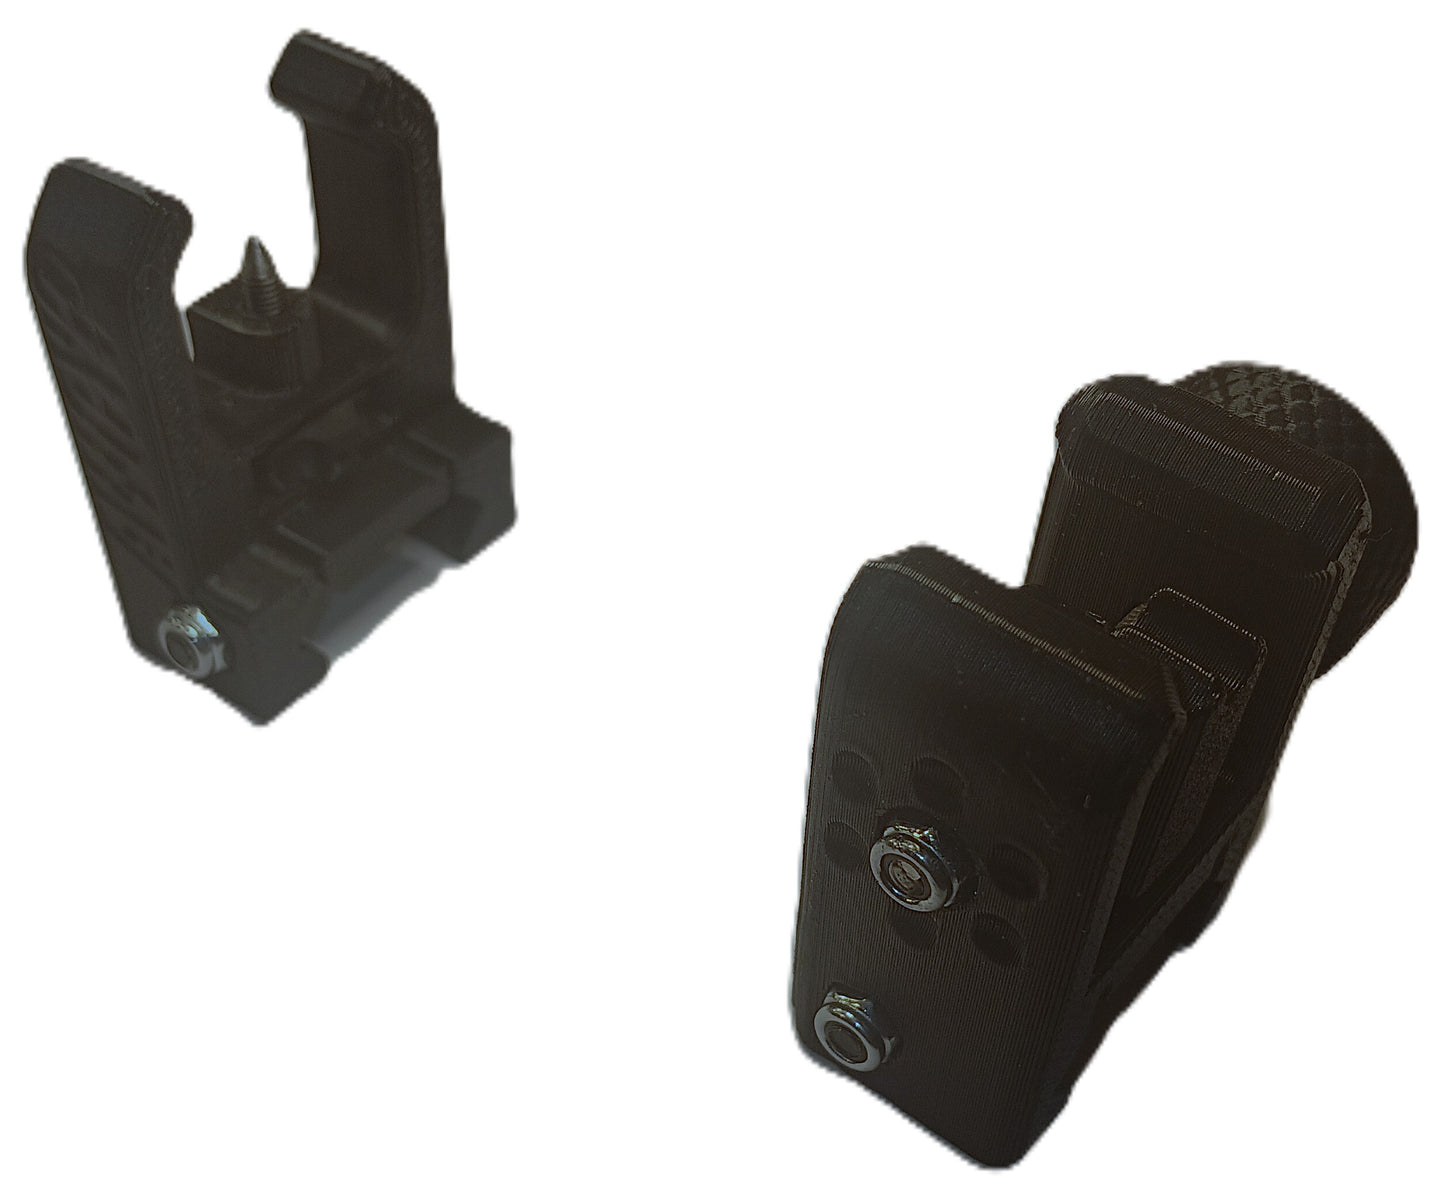
Adjustable iron sight build
SERVICEABLE 3D PRINTED ADJUSTABLE “IRON SIGHTS”
CREDITS TO ImYourFuckleberry AND Are We Cool Yet? FOR THE BEAUTIFUL DESIGN.
Files are here
https://odysee.com/@ImYourFuckleberry:e/IronSightsV2.1:0
https://odysee.com/@AreWeCoolYet:7/AWCYAdjustableIronSights:e
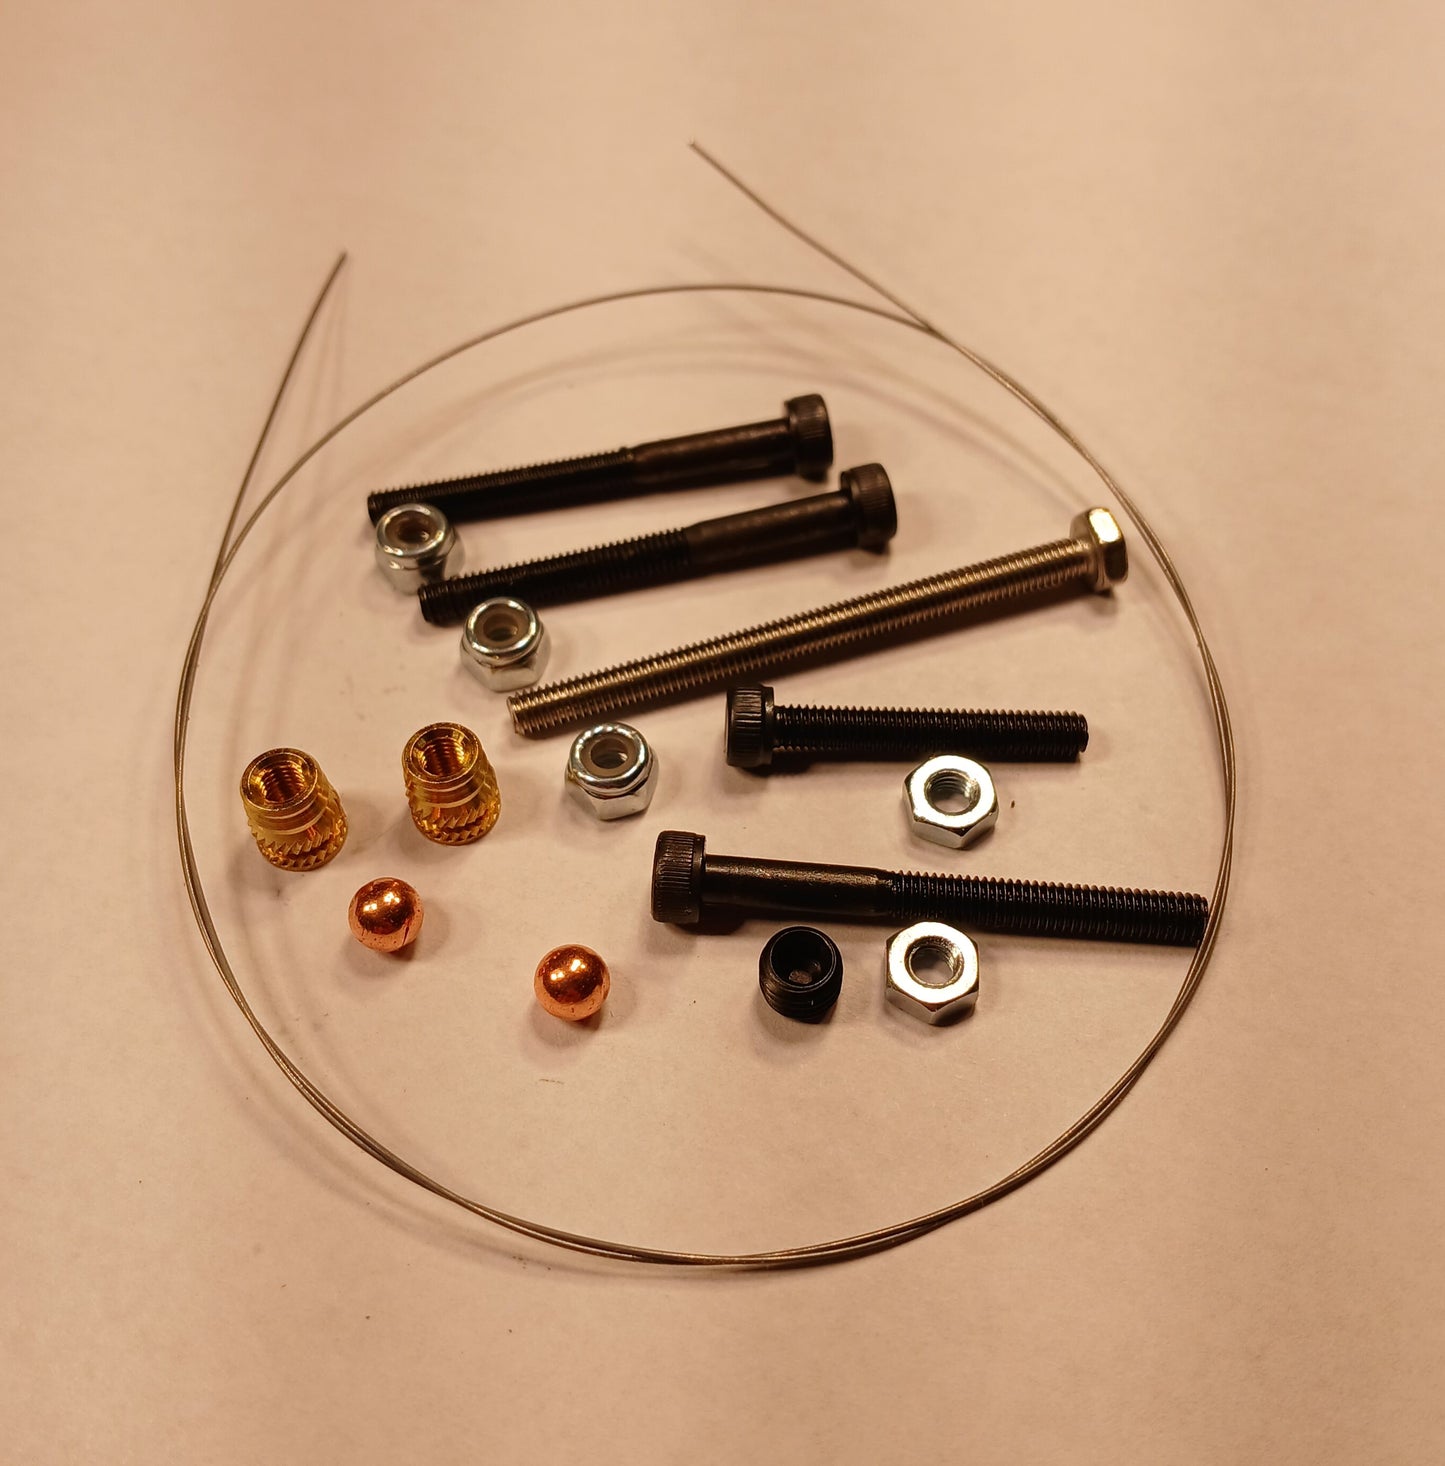
The hardware kit is here
https://pewware.com/products/adjustable-iron-sights-v2-0-hardware-kit
Printing
SPRING MANDREL
Print the tools here:
https://odysee.com/@pewWare:7/spring-tool-2.5x13mm:5
https://odysee.com/@pewWare:7/spring-making-tool-open-top-2.5x13mm:7
Pinnt at 100% infill
Roll by hand
Or use a drill and get dangerous
CUTS ON YOUR FINGERS ARE FREE OF CHARGE
You can cut ~13mm piece of spring wire and heat it with a lighter to clean the channels on the tools
Roll your springs. Tempering is not necessary for this project, but you can bake the springs @ 450F for 45 min for some extra clicky sounds. You are looking to make them 4mm wide x 8mm long.
Front sight
Add a drop of superglue and wait 10min to glue together the Front Sight Post Guide and The socket head cap screw x 20mm or the 30mm if you want to grind custom apertures. Same build rules apply.
Locate some nail polish and then, Strategically Transfer Equipment to Alternate Location your significant others paint supply.
There are 2 options for the elevation knob, one that uses a nut and one that uses a insert. The insert must be trimmed to 4mm height.
Rear Sight
Windage knob uses a M3x40mm hexl
M3 nylon lock nut
4mm x 8mm spring
.177 cal BB for detent
There are 2 options for the rear sight aperture, one that uses a nut and one that uses a insert. Dab of superglue or epoxy holds the nut in.
You can ream the rear sight aperture with a ¼ or 6mm drill bit and glue the insert in place or install with a soldering iron.
Assemble and install

Printed Adjustable Iron Sights
Printed Adjustable Irons by ImYourFuckleberry
My Store
Adjustable Iron Sights V2.0 Hardware Kit
Share


